

To make tortellini, roll fresh egg pasta very thin, cut it into 4–4.5 cm squares, add a small mound of firm filling, fold each square into a triangle, then wrap the two lower corners around your fingertip and pinch them together. Work in small batches so the dough stays supple: a dry edge, excess filling or trapped air makes the fold harder and the seal less reliable.
The distinctive shape of tortellini
A classic tortellino begins as a square. Once filled, the square is folded diagonally into a triangle. The two lower corners are then brought around a fingertip and pressed together, creating the compact ring and raised point associated with Bologna and Modena.
That sequence matters because not every filled pasta is shaped with the same tool. Ravioli are often made by enclosing filling between two sheets, then cutting and sealing a defined border. Tortelli can be square, round, rectangular or half-moon shaped, depending on the local tradition and filling. Tortellini rely on a square cut and a final hand fold.
For this method, a smooth pasta wheel helps divide the sheet into straight, even squares without a decorative edge. Cutting comes first; sealing and shaping happen afterward with your fingers. Keeping those stages separate makes it easier to see whether a problem starts with the dough, the filling or the fold.
The fold looks intricate, but the underlying movement is short: square, triangle, wrap, pinch. Most problems begin before the final pinch, usually with a sheet that has dried, a portion of filling that is too large or flour left on the sealing edge.
Tortellini dough and filling for four people
This home recipe makes four first-course servings in broth, approximately 500–550 g of uncooked tortellini. The exact yield depends on sheet thickness, trimming and filling portions. Plan for about 2–3 hours of preparation and shaping, plus about 24 hours of refrigeration for the filling. Beginners may need longer.
Ingredients
For the dough
- 200 g Italian 00 flour, plus a little for dusting
- 2 large eggs, about 100 g without shells
For the filling
- 50 g pork loin, weighed before cooking
- 50 g prosciutto crudo
- 50 g Mortadella Bologna
- 75 g finely grated Parmigiano Reggiano
- 25 g beaten egg, approximately half a large egg
- 5 g butter
- 1 small sprig of rosemary and 1 small garlic clove, lightly crushed
- A little freshly grated nutmeg
To serve
- About 2 liters of beef and chicken or capon broth
- Extra Parmigiano Reggiano, if desired
Preparing the filling
Prepare the filling the day before. Gently cook the pork loin in the butter with the rosemary and garlic until cooked through. Remove the aromatics, transfer the meat to a clean plate and let it cool promptly. Do not add the pan juices to the filling.
Finely mince the cooled pork, prosciutto and mortadella. Mix with the Parmigiano, beaten egg and nutmeg until cohesive. Weigh the beaten egg before adding it: a whole egg would make this small batch too soft. The cured meats and cheese already provide plenty of salt.
Cover and refrigerate the filling for about 24 hours so the flavors blend. It should be firm enough to hold a small mound. Bring only a small portion to the workbench at a time, keeping the rest refrigerated.
The texture matters as much as the flavor. A warm or wet filling softens the sfoglia from underneath and makes the seam harder to close. Check that the meats are finely minced, with no firm pieces that could catch against the thin dough. The mixture should sit neatly in the center of a square without spreading toward the edges.
Making and resting the dough
Place the flour on the board, make a well and add the eggs. Beat them with a fork, gradually drawing in the flour. Bring the mixture together and knead for about 10 minutes until firm and smooth. Cover tightly and rest for at least 30 minutes before rolling.
Egg size and flour absorption vary. If the dough remains crumbly after mixing, moisten your hands and continue kneading; if sticky, add a light dusting of flour. Avoid adding large amounts at once. After resting, the dough should roll without springing back sharply.
Before rolling, arrange the board, cutter, filling and a lightly dusted tray within easy reach. Keep space beside the board for the covered dough. Having everything ready means you can move directly from cutting to filling, without leaving freshly cut squares exposed while you search for a tray or clear the counter.
Rolling the sfoglia and cutting even squares
Tortellini need a thin, supple sheet. A thick sfoglia becomes heavy where the corners overlap, while a fragile sheet can tear around the filling. Roll one small piece of dough at a time and keep the rest covered.
With a pasta machine, begin at the widest setting and reduce the thickness gradually. Machine numbers differ, so a final setting is less useful than a physical test. You should be able to see the shadow of your hand through the sheet, yet lift it from the board without holes or ragged edges. With a rolling pin, turn the dough often and work from the center outward until the sheet is even across its width.
Use flour sparingly. The board should be dry and the dough should release cleanly, but a dusty surface can stop the folded edges from bonding. If the sheet feels tacky, dust the board lightly. If it feels leathery or cracks at a bend, it has dried too far.
Cut a manageable strip and cover the rest of the sfoglia. Trim the strip into 4–4.5 cm squares with a smooth wheel. First cut parallel bands, then turn the working direction by 90 degrees and make the crosscuts.
Check the first few squares against one another. Small differences are harmless, but a batch of noticeably different sizes forces you to change the amount of filling and the finger position each time. Consistent squares make the gesture easier to learn.
Folding tortellini step by step
Set out only as many squares as you can fill and close before their edges dry. Six to ten at a time is a sensible rhythm when working alone.
- Place the filling. Put a small mound in the center of the square. For a 4 cm piece, start with about ¼ teaspoon, roughly 1–1.5 g depending on the mixture. Reduce it if the edges cannot meet without stretching. Leave a clean margin on every side.
- Lift the opposite corner. Fold the square diagonally to form a triangle. Bring the two corners together first so the edges line up.
- Press out the air. Starting close to the filling, press gently toward the open sides. Do not flatten the filling; move the air away from it.
- Seal the triangle. Press the two layers together from the center toward both ends. If the dough has lost its tack, touch one edge with a barely damp fingertip. Use only enough water to lightly moisten the edge.
- Wrap the lower corners. Hold the triangle with its point facing upward. Rest the filled center against the tip of your index finger, curve the two lower corners around the finger and overlap them slightly.
- Pinch and release. Press the corners together with a short, firm pinch. Slide the tortellino from your finger without pulling the ring open. The top point will lift naturally as the corners meet.
Place each finished piece on a tray dusted lightly with semolina or flour. Keep the pieces separate. The first few may look uneven; pay attention to whether they are closed rather than trying to force perfect symmetry. Once the filling portion and finger position stay consistent, the shape usually follows.
If you are right-handed, many people find it natural to hold the triangle in the left hand and use the right hand to guide one corner around the finger. Reverse the setup if that feels better. The useful technique is the one that lets you repeat the pinch without stretching the dough.
Common tortellini problems and how to fix them
Opening in the pot is usually the result of several small issues rather than one dramatic mistake. Use this diagnosis at the board:
- The edge will not stick. The sfoglia has dried or there is flour on the seam. Work with fewer squares, keep unused dough covered and brush away loose flour before folding.
- The triangle swells with air. The seal began at the outside edge. Press close to the filling first, then move outward so the air has somewhere to escape.
- Filling reaches the seam. The portion is too large or too soft. Reduce it and chill the mixture. Grease or moisture between the layers weakens contact.
- The dough tears at the center. The sheet may be too thin for the filling, or the mound may contain a hard piece. Roll evenly and mince the filling carefully.
- The ring springs apart. The corner overlap is too small, or the dough is dry. Wrap the corners far enough to overlap without stretching, then pinch once with deliberate pressure.
- The cooked fold feels thick. The sfoglia was too heavy before shaping. Thin the next strip gradually rather than pressing harder during the fold.
Do one test tortellino before filling the entire strip. Fold it, wait a minute and check the seam. If it opens on the tray, adjust moisture or pressure immediately. That small test saves a whole batch from repeating the same error.
Choosing a cutter for tortellini
A smooth wheel is a practical choice for cutting the straight-sided squares used for tortellini. Keep the wheel upright and make one continuous pass down to the board. Several short strokes can drag the sfoglia and leave corners that no longer match.
Our MARCO smooth pasta cutter wheel is handmade in Italy with a brass head and natural wood handle. It is designed for straight cuts, making it suitable for dividing the sfoglia into strips and then squares before folding by hand.
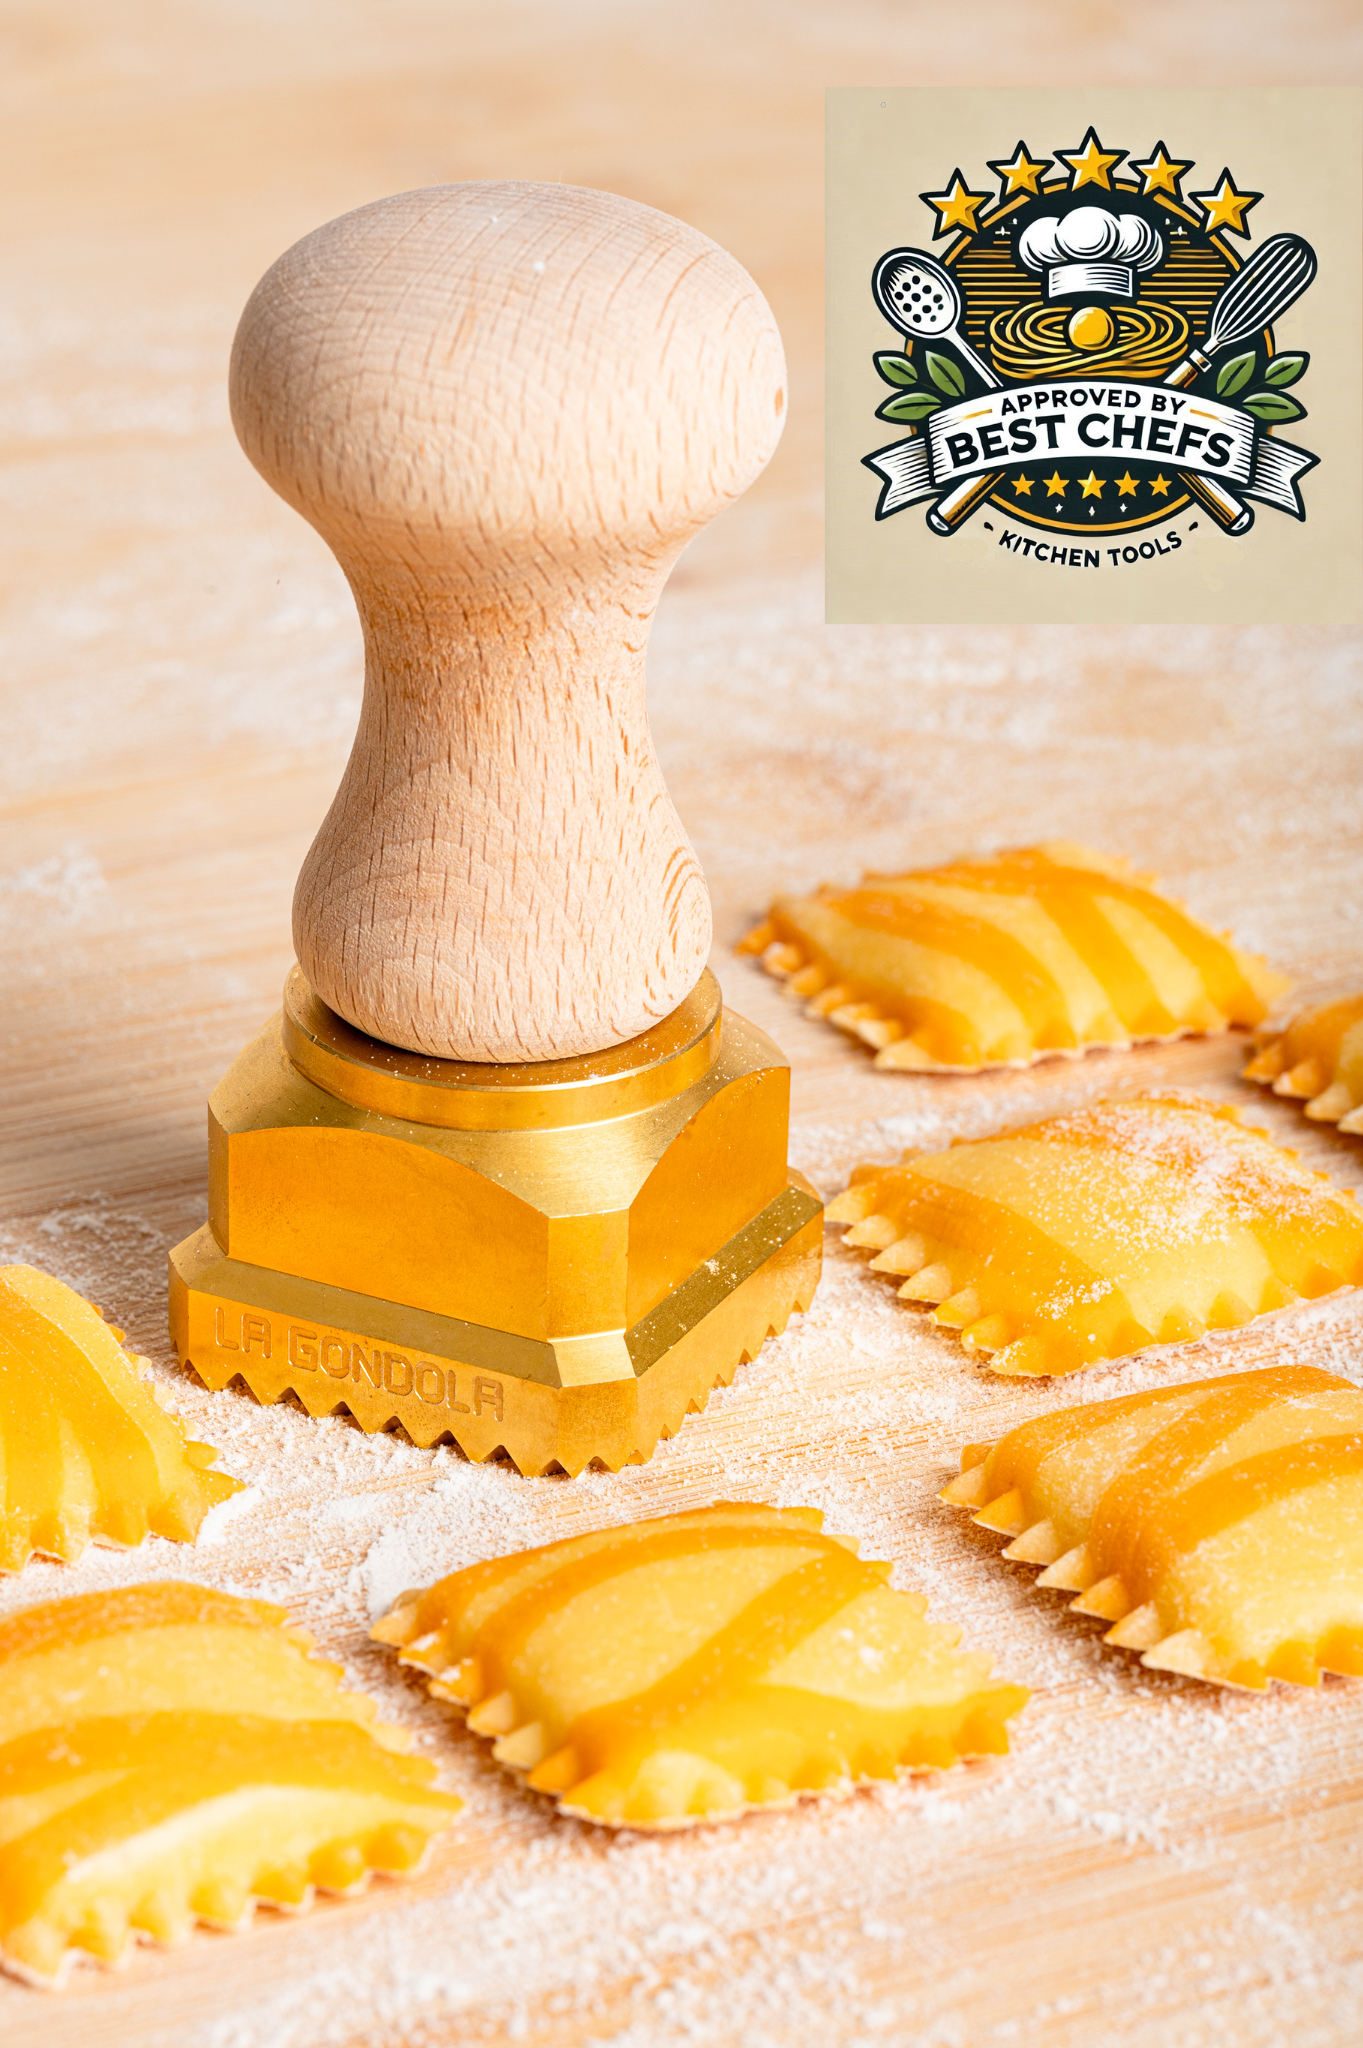
If you also enjoy making ravioli, explore our ravioli stamps in brass and natural wood for round, square and other stamped shapes.
After cutting, remove loose flour and follow the maker's care instructions. Do not leave brass and natural wood soaking; clean the tool after use and dry it promptly before storing it.
Cooking, serving and freezing tortellini
In Bologna, tortellini are traditionally served in a well-made meat broth. Bring the broth to a gentle boil, add the tortellini without crowding the pot and stir carefully once so they do not settle together. For freshly made tortellini with thin sfoglia, begin checking after 2–3 minutes. Thicker or slightly dried pasta takes longer; frozen tortellini usually need a few additional minutes. Treat these times as a starting point.
Do not rely only on the moment the tortellini float. Taste one and check the thickest area, where the corners overlap. The pasta should be tender but still hold its form, and the filling should be hot through. A hard boil can knock delicate pieces against one another, so keep the movement controlled.
If you plan to freeze the batch, arrange the tortellini in a single layer on a tray first. Once firm, transfer them to a suitable freezer container. Cook them from frozen so thawing does not soften the seams. Add them in batches and allow the liquid to return to temperature gently.
For serving outside the strict Bologna tradition, use a light sauce that does not crush the shape. Lift tortellini with a slotted spoon instead of pouring a crowded pot into a colander. The same care used to shape the ring should carry through the final minute of cooking.
A reliable rhythm for homemade tortellini
Good tortellini begin before the final pinch. An even sfoglia keeps the folded areas from becoming too thick; consistent squares help you portion the filling; a clean margin gives the edges room to bond. If the first pieces are awkward to close, check those details before changing the way you hold the triangle.
The most efficient rhythm is small and repeatable: cut a short strip, fill a few squares, fold them, then uncover more dough. This keeps the edges supple and lets your hands learn one consistent movement. Speed arrives later; the first goal is a closed triangle and securely sealed corners.
Keep your first finished tortellino beside the board as a size reference. Comparing the next few pieces with it helps you notice excess filling or uneven squares before those small differences spread through the batch.
FAQ about how to make tortellini
What size should tortellini squares be?
Cut squares about 4–4.5 cm (roughly 1⅝–1¾ inches) per side for a compact tortellino. Slightly larger squares can make practice easier, but keep the dimensions consistent throughout each batch so the same filling portion and finger position work for every piece. A noticeably larger square needs a different amount of filling and a wider movement around the finger. For your first batch, choose one size and stay with it rather than switching between small and large pieces as you work.
Can I make tortellini without a pasta machine?
Yes. Use a rolling pin to roll the rested dough into an even, thin sheet, then a smooth wheel to cut the squares. Check the center as well as the edges: thicker areas will become especially noticeable where the pasta overlaps during folding. Work with a small piece at a time and turn it often as you roll. A machine makes reducing the thickness more convenient, but the final shaping is still done by hand, whichever method you use for the sfoglia.
How do I keep tortellini from opening while cooking?
Keep filling off the edges, press out trapped air and seal while the dough is supple. Brush loose flour away from the seam and use a trace of water only if needed. Cook at a gentle boil without crowding the pot. If a test piece opens, check its seam before shaping more.
How much filling should I put in each tortellino?
For a 4 cm square, start with about ¼ teaspoon and make a test piece. The triangle should close with a clean border and no filling squeezed into the seam. If you need to pull the dough to make the corners meet, reduce the portion. A little filling left over is preferable to overstuffing the last squares.
What is the traditional filling for tortellini?
A traditional Bolognese filling combines pork loin, prosciutto crudo, Mortadella Bologna, Parmigiano Reggiano, egg and nutmeg. The pork is cooked before mincing, and the finished mixture rests in the refrigerator before shaping. Family variations exist. For alternative fillings, drain ricotta well, squeeze cooked vegetables dry and remove excess liquid from braised meat so the mixture stays compact.