

To make homemade pasta, combine flour and eggs into a firm dough, knead until smooth and let it rest for at least 30 minutes. Roll it into an even sheet, cut it into your chosen shape and cook it for just a few minutes. Good dough matters, but so do consistent thickness, a clean cut and a shape that suits the sauce.
What You Need to Make Homemade Pasta
For a first batch, use 300 g of flour and about 150 g of beaten egg, equivalent to roughly 3 large eggs. This makes about four servings, although the final yield will depend on the shape and portion size.
Italian 00 flour produces a fine, supple egg dough, while all-purpose flour is a practical alternative. Because flour absorption and egg size can vary, begin with about 270 g of the measured flour and keep the remaining 30 g nearby. Add it gradually only if the dough needs it. Keep a little extra flour or fine semolina on hand for dusting the work surface and tray.
Your basic setup is simple:
- a clean wooden board or work surface
- a fork and bench scraper
- a rolling pin or pasta machine
- a sharp knife or pasta cutter wheel
- a tray lightly dusted with semolina
- a large pot and a sauce that is ready before the pasta goes into the water
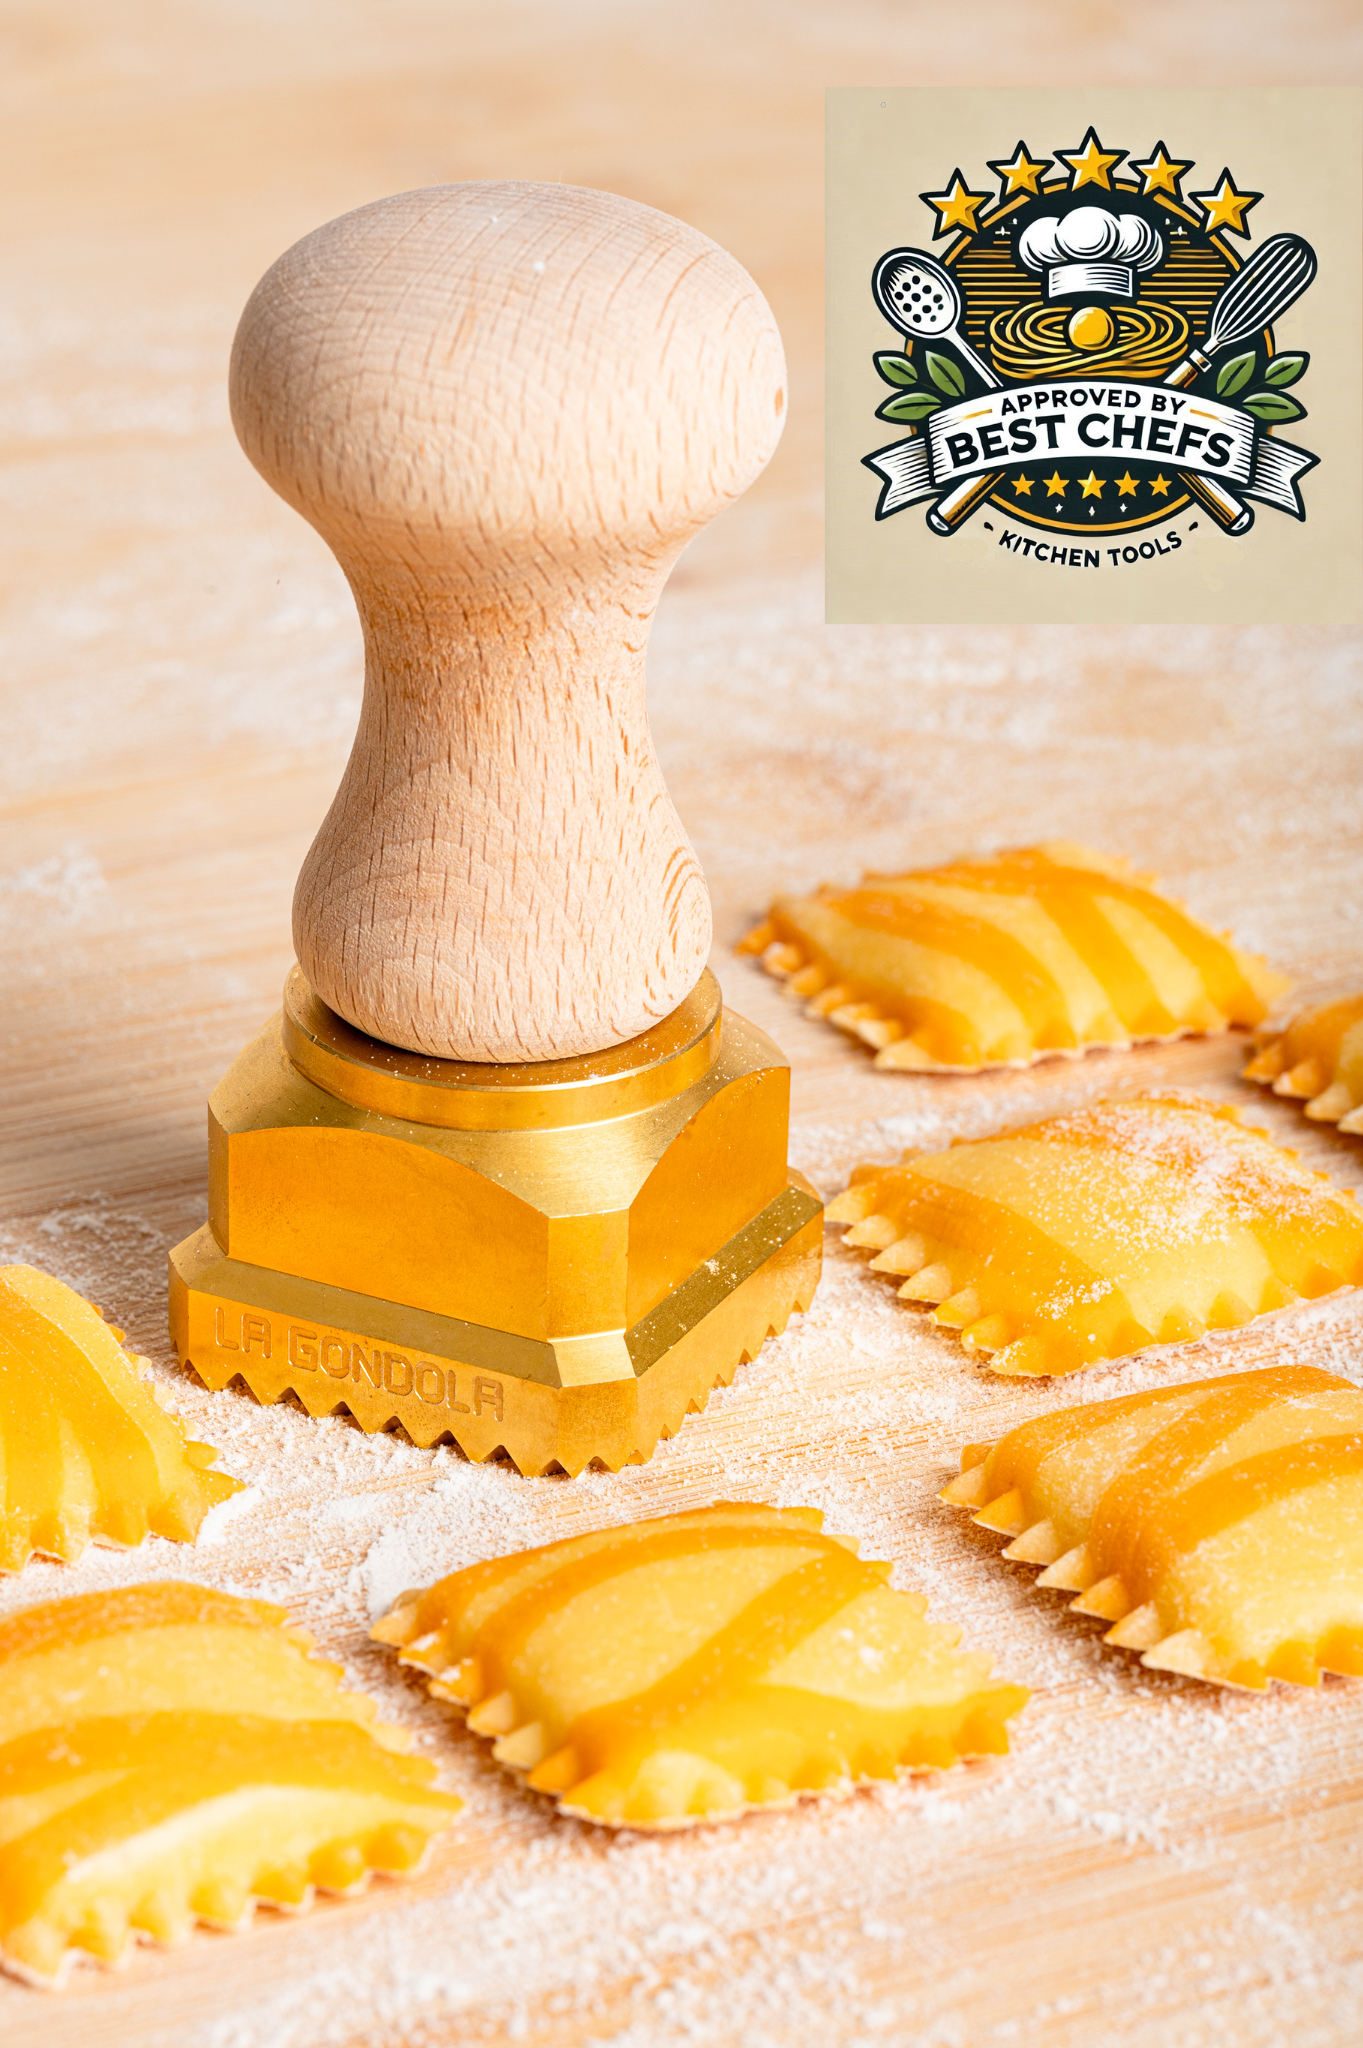
The exact tools you need will depend on the pasta shape. A knife works well for rustic ribbons. A smooth wheel is useful for straight cuts, trimming sheets and dividing filled pasta into portions. A fluted wheel creates a decorative edge, while a ravioli stamp cuts a consistent shape and defines the border around the filling.
To compare the available shapes and cutting styles, explore LaGondola pasta tools. Choosing the shape before you begin will help you prepare the right sheet thickness and select the most suitable tool.
How to Mix and Knead Fresh Pasta Dough
Place about 270 g of the flour in a mound and make a wide well in the center. Crack the eggs into the well and beat them with a fork. Draw in a little flour at a time from the inner wall, taking care not to break the outside of the mound too early.
As the egg mixture thickens, use the bench scraper and your hands to bring it together. Add some of the reserved flour if the mixture remains too sticky to handle. The dough will look rough at first, so keep pressing in the loose crumbs for a minute or two before deciding that it needs more moisture.
Begin kneading with the heel of your hand. Push the dough away from you, fold it back, turn it a quarter turn and repeat. After about 8 to 10 minutes, the surface should be smooth and the dough should feel firm, elastic and barely tacky. If you press it with your thumb, the indentation should slowly begin to spring back.
Make only small corrections. If dry crumbs still refuse to join after several minutes of kneading, dampen your fingertips and continue. If the dough smears across the board, add a light dusting of the reserved flour and knead again. Adding a large amount of water or flour at once can quickly turn a dry dough into a sticky one, or the other way around.
Wrap the dough well or cover it with an upturned bowl. Let it rest for at least 30 minutes at room temperature. During the rest, the moisture spreads more evenly through the flour and the gluten relaxes, making the dough easier to roll. Keep every unused piece covered as you work because a dry surface can create rough streaks and cracked edges in the sheet.
How to Roll Pasta Dough Evenly
Divide the rested dough into four pieces and flatten one into a small rectangle. Keep the other pieces covered. Working with smaller portions makes the dough easier to control and prevents it from drying out.
If you are using a pasta machine, begin at the widest setting. Pass the dough through, fold it into thirds and roll it again. Repeat until the rectangle is smooth and even, then continue through progressively narrower settings. Move down one setting at a time rather than skipping several levels. A gradual reduction produces a more even sheet and helps prevent torn edges.
If you are using a rolling pin, work from the center outward and turn the dough often. Use the full length of the pin instead of pressing hard in one spot. The sheet should become evenly thinner without leaving a heavy center or fragile corners. If the dough repeatedly shrinks back, cover it and let it rest for another 10 to 15 minutes before continuing.
Dust the dough only when it begins to stick. Too much flour can dry the surface and make the layers of filled pasta harder to join. For ribbons, let a very soft sheet rest for a few minutes before cutting, until the surface feels dry to the touch but remains flexible. For filled pasta, add the filling and join the sheets while the dough is still supple.
The final thickness depends on the shape. Ribbons can retain a little body. Lasagna sheets should be even enough to lie flat in the dish. Filled pasta needs a thin sheet so the joined edges are pleasant to eat, but it must still be strong enough to hold the filling. A faint outline of your hand through the dough is a useful visual guide, although machine settings vary from one manufacturer to another.
The Best Pasta Shapes for Beginners
Wide ribbons are one of the easiest places to start. Lightly dust the sheet, fold it loosely without pressing it into a tight roll, then cut pappardelle or tagliatelle with a knife or smooth wheel. Unfold each strip immediately and transfer it to a dusted tray.
Lasagna sheets are also beginner-friendly because the main task is trimming clean rectangles. A smooth pasta cutter gives you a continuous rolling motion, which makes it easier to follow a straight line without repeatedly lifting and repositioning a knife.
Filled pasta requires more precision. The filling must be firm enough to hold its shape, each portion needs a clean border and trapped air must be pressed out before cutting. A ravioli stamp can help create consistent shapes and clearly defined edges across the batch. It cannot correct dry dough or too much filling, but it can make the final cutting step more repeatable.
Choosing the Right Tool for Each Pasta Shape
Each cutting tool produces a different result:
- Knife for rustic ribbons when exact width is not essential.
- Smooth wheel for straight cuts, trimmed sheets and dividing filled pasta into portions.
- Fluted wheel for a decorative fluted edge.
- Ravioli stamp for consistent filled-pasta shapes with a clearly defined border.
- Adjustable multi-wheel cutter for cutting several evenly spaced strips at once.
Tool choice is not only about appearance. The right cutter should help you follow the intended line and repeat the same shape across the sheet. Weight, grip and wheel profile all affect how the tool feels in the hand, so the best choice is the one that suits both the pasta shape and the way you prefer to work.
How to Cut Fresh Pasta Cleanly
Begin with an even sheet on a dry, lightly dusted board. A damp underside can make a cutter drag, while too much loose flour on top can cause the wheel to slide. Brush away any visible excess before cutting.
Hold the handle comfortably and keep the wheel upright. Roll it through the dough in one steady pass, applying enough pressure to cut through to the board. Repeated short strokes can distort a straight edge. If the wheel does not cut cleanly, check the thickness and position of the sheet before pressing harder. Uneven dough or a tilted cutter is often the real cause.
For ribbons, cut the first strip to the desired width and use it as a visual reference for the rest. For filled pasta, work while the sheet is still supple. Keep the filling away from the border, press trapped air outward and make sure the two layers are in contact before cutting. If the surface has begun to dry, lightly moisten the intended seal with a fingertip rather than soaking the dough.
Transfer each piece to a semolina-dusted tray as soon as it is cut, leaving enough space between pieces. When fresh pasta is stacked too closely, trapped moisture can make it stick together again, especially in a warm kitchen. Form long ribbons into loose nests only after they have lost their surface tack.
When you are ready to choose a cutter, browse the collection of pasta cutters in brass and natural wood. LaGondola's cutters are made in Italy and combine brass working parts with natural-wood handles. Select the wheel according to the type of line and edge you want to create.
How to Cook Homemade Fresh Pasta
Bring a large pot of water to a full boil and add salt. Make sure the sauce is warm and ready before the pasta goes into the water. Fresh pasta cooks quickly, so there will be little time to prepare anything else once cooking begins.
Shake off any loose semolina and carefully lower the pasta into the water. Stir gently during the first few moments so ribbons separate and filled shapes do not settle against the bottom of the pot.
Begin checking early. Thin ribbons may be ready in about 2 minutes, while thicker shapes and filled pasta usually take longer. Sheet thickness, filling and resting time all affect the result, so taste a piece instead of relying only on the timer.
Transfer the pasta to the sauce while it still has a little structure. Add a small amount of cooking water if needed to help the sauce coat the surface. Toss gently, especially when working with ravioli or delicate ribbons, and finish cooking the pasta without damaging the shape you have made.
Fresh and dried pasta are different foods rather than two levels on the same quality scale. Fresh egg pasta is well suited to tender ribbons, lasagna and many filled shapes. Dried durum-wheat pasta offers a firmer bite and pairs well with sauces that benefit from more structure. Homemade pasta is worth making when you want direct control over the dough, thickness, shape and final texture.
Common Homemade Pasta Mistakes
The dough is stiff and cracks. It may be too dry, too cold or insufficiently rested. Knead it for a few minutes before adding liquid, correct the texture with damp fingertips and let chilled dough soften before rolling.
The dough sticks to the rollers. Dust it lightly and reduce the thickness one setting at a time. Remove any soft residue from the rollers before continuing.
The sheet has thick and thin patches. Divide the dough into smaller pieces and apply even pressure. With a pasta machine, return to the widest setting and rebuild a smooth rectangle before moving down again.
The cut edge looks crushed. Let an overly soft sheet rest briefly, keep the wheel upright and cut with one continuous pass. Even a good cutter will struggle to make a clean line through dough that is sticking to the board.
The ravioli open in the pot. Keep the filling away from the border, remove trapped air, brush away excess flour and join the layers while the dough is still supple. A stamp can create a consistent shape and border, but the contact between the two sheets must still be clean.
The pasta clumps before cooking. Lightly dust the tray, separate the pieces and avoid deep piles. Fresh pasta needs enough space for surface moisture to escape.
From Flour to Fork
Homemade pasta becomes much easier when you learn to read the dough at each stage. Knead until the surface is smooth, rest it until it rolls without springing back, reduce the thickness gradually and cut only when the sheet has the right balance of dryness and flexibility.
Begin with wide ribbons or trimmed sheets, which allow you to practice rolling and cutting without rushing. Move on to filled pasta once you are comfortable judging thickness, moisture and the amount of filling. Keep unused dough covered, use only as much flour as necessary and have the sauce ready before cooking.
A well-made manual tool cannot correct poorly prepared dough, but it can help turn an even sheet into a clean, consistent shape. That is the practical role of LaGondola's Italian-made brass and natural-wood cutters: simple tools designed for direct, controlled work on the pasta board.
FAQ About How to Make Homemade Pasta
Can I make homemade pasta without a machine?
Yes. A rolling pin, knife and pasta wheel are enough for many traditional shapes. Rolling by hand takes more time and requires close attention to thickness, but it also gives you direct feedback through the pin and board. Work with smaller portions, turn the sheet often and roll from the center outward. A pasta machine makes gradual, even reduction faster, but it is not essential for a successful batch of fresh pasta.
Can I use all-purpose flour for homemade pasta?
Yes. All-purpose flour produces a workable egg dough and is a sensible choice when Italian 00 flour is unavailable. Since different flours absorb liquid differently, begin with about 270 g of the measured 300 g and add the rest only if the dough remains sticky after it begins to come together. The finished dough should feel firm, smooth, elastic and barely tacky.
How long should homemade pasta dough rest?
Let the covered dough rest for at least 30 minutes at room temperature. A particularly firm dough may benefit from 45 to 60 minutes. Resting allows the moisture to spread and the gluten to relax, which reduces spring-back during rolling. Do not leave the dough uncovered. If you prepare it further in advance, refrigerate it tightly wrapped, then let it soften enough to roll without cracking.
How thin should homemade pasta be?
There is no single thickness for every shape. Wide ribbons can retain some body, while filled pasta needs a thinner sheet so the joined edges do not become heavy after cooking. Roll gradually and judge the entire surface rather than relying only on a machine setting. An even, supple sheet with the faint outline of your hand visible through it is a useful reference for many shapes.
Do I need a ravioli stamp to make filled pasta?
No. You can cut filled pasta with a knife or pasta wheel. A ravioli stamp is useful when you want consistent shapes, clearly defined borders and the same cutting motion across a full batch. Its fixed outline also helps you leave even space around the filling. It will not correct dry dough, trapped air or excessive filling, but it can make the final shaping step more consistent.