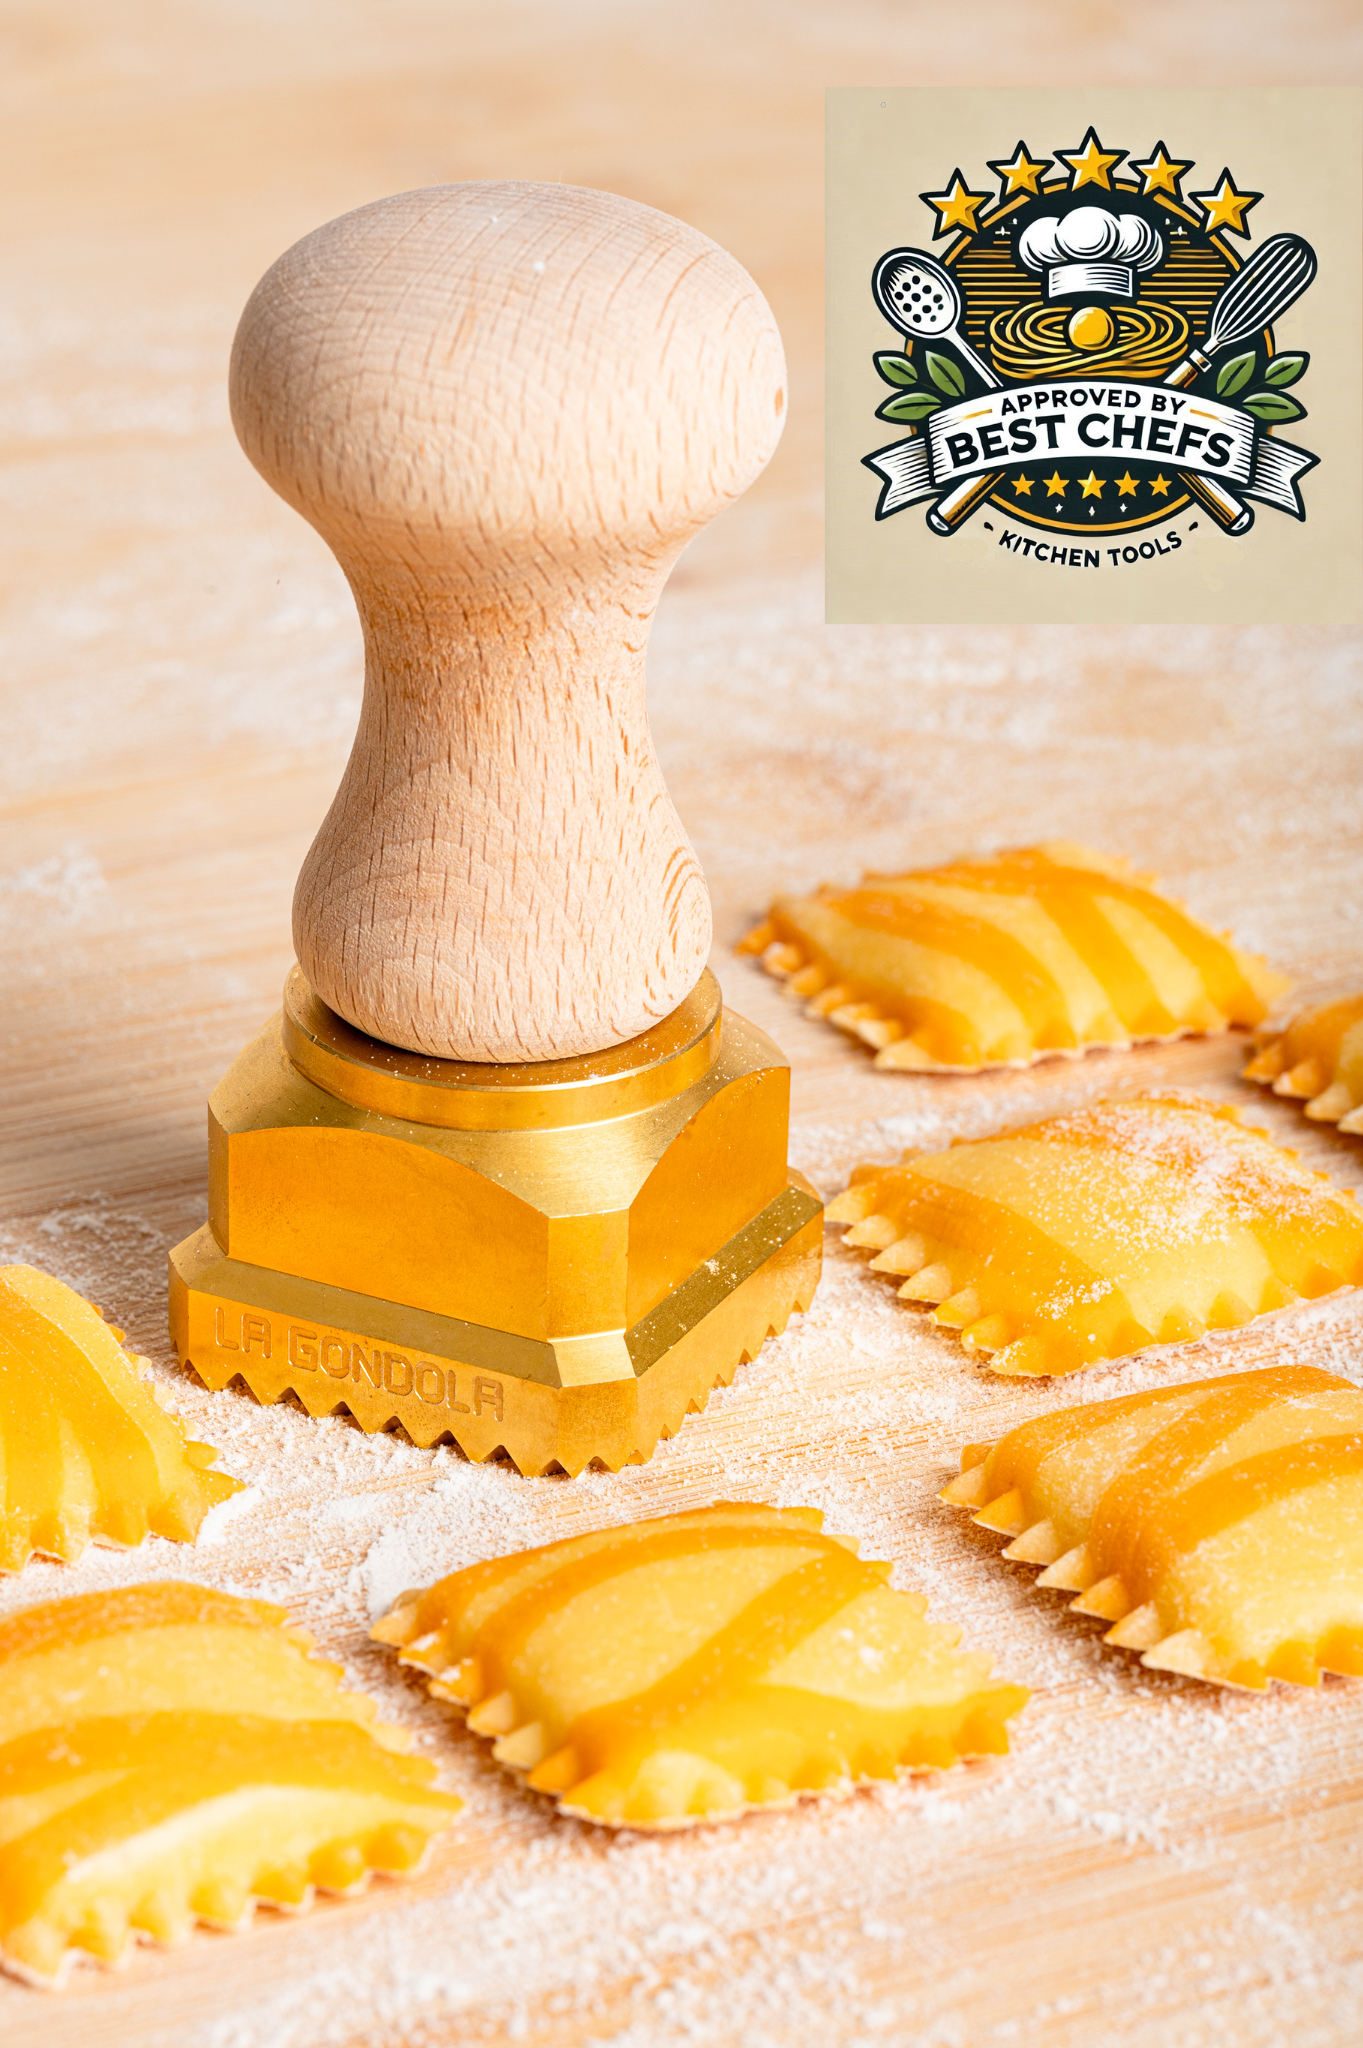


To clean brass, start with warm water, mild soap, a soft cloth, and careful drying. If the brass is tarnished, use a small amount of lemon and baking soda or a vinegar paste on the metal only, then remove every trace of residue and dry the tool before storing it. For pasta tools with natural wood handles, the most important rule is simple: clean the brass without soaking the wood.
How to clean brass when the tool also has natural wood
Most brass cleaning guides are written for candlesticks, door handles, trays, or decorative objects. A handmade pasta cutter is different. It is handled with flour on the board, it may touch fresh dough, and it often combines two materials that need different care: a durable brass head or wheel and a natural wood handle.
That is why the safest first step is not polish. It is dry removal. Brush away flour with a clean pastry brush or a dry cloth, especially near the wheel, stamp edge, or small joins where dough can gather. If there is fresh dough on the brass, soften it with a damp cloth rather than putting the whole tool under running water.
Then wash only where needed with mild dish soap and warm water. Use a cloth that is damp, not dripping. Wipe the brass, wipe the wooden handle separately, and dry both straight away. The tool should feel dry in the hand before it goes back into a drawer.
LaGondola tools are made for repeated kitchen use, with brass and natural wood chosen for control, weight, and a solid hand feel. You can explore the range from the LaGondola homepage if you want to see how the material pairing appears across stamps, cutters, and bundles.
What tarnish is and when you should leave it alone
Brass changes as it is used. A light warm patina is not the same thing as dirt, and it does not mean the tool is poorly kept. Brass contains copper and zinc, and its surface can darken when it meets oxygen, moisture, salt, or oils from the hand. On a pasta tool, that ageing can appear faster near the areas you touch most.
Before you clean brass aggressively, decide what you are trying to remove. Flour, dough, and kitchen residue should be cleaned after use. Tarnish is different. If the tool looks clean, feels smooth, and works well, a slight change in color can be part of the material rather than a problem.
A full bright shine makes sense when the brass looks dull, uneven, or sticky from residue. It is less useful as a weekly habit. Over-polishing can turn care into wear, especially if you reach for abrasive pads. For handmade tools, restraint is part of good maintenance.
A useful test is tactile. If the brass feels clean and the cutter glides through dough without dragging, you may only need a soft cloth. If the surface feels greasy, dusty, or visibly tarnished, move to a gentle natural cleaner.
How to clean brass naturally with lemon or baking soda
Lemon and baking soda are the simplest natural method for a small brass area. Mix a little lemon juice with enough baking soda to make a soft paste. It should feel creamy rather than gritty. Apply it to the brass with a soft cloth or cotton swab, keeping it away from the wood.
Work in short passes. Rub lightly, especially around a wheel or stamp edge, then remove the paste with a damp cloth. Do not leave acidic paste sitting on a pasta tool for a long time. Many home-cleaning articles suggest longer contact times for decorative brass, but a kitchen tool with wood nearby is better cleaned gradually.
If the tarnish is light, one pass may be enough. If it is heavier, repeat rather than scrub harder. The pressure should come from the movement of your fingers, not from a rough pad. A soft toothbrush can help around small ridges, but it should be used gently and only on the brass.
When the tarnish is removed, wipe the brass with a clean damp cloth until no paste remains. Dry it carefully. Then leave the tool in open air for a few minutes before storing it, so moisture does not sit near the joint between brass and wood.
When vinegar, salt, or baking soda is useful
Vinegar, salt, and flour can form a stronger paste for darker tarnish. Use it with care. Mix a small spoon of flour with a little salt and enough white vinegar to make a spreadable paste. Apply it to the brass only, leave it briefly, then wipe it away and rinse the area with a damp cloth.
Salt gives abrasion, vinegar gives acidity, and flour keeps the paste in place. That combination can help when the brass has darkened in patches, but it should not touch the wooden handle. It also should not be used as a soak for a pasta cutter, ravioli stamp, or wheel.
For LaGondola pasta cutters, the second internal reference point is the cutter collection itself: pasta cutters in brass and natural wood. These tools rely on clean movement and a comfortable grip, so the care routine should protect the wood as much as it brightens the brass.
Baking soda with water is milder than vinegar paste and useful after a normal kitchen session when you only want to remove dullness. Make a paste, rub lightly, wipe clean, and dry. Lemon works faster on tarnish, but water and baking soda can be enough for maintenance between deeper cleans.
What not to use on brass pasta tools
Do not put brass and wood pasta tools in the dishwasher. The heat, detergent, and prolonged moisture are too harsh for the wood and unnecessary for the brass. Do not soak the tool in a bowl or sink, even if the brass looks dirty. Soaking makes water travel into joints and into the handle.
Avoid steel wool, metal brushes, abrasive sponges, bleach, oven cleaner, and strong degreasers. They may make a surface look bright quickly, but they can scratch brass or leave residues that have no place near fresh pasta work.
Be careful with commercial metal polish. Some products are useful for decorative brass, but a pasta tool needs a more conservative approach. If you use any ready-made polish, read the label, keep it away from the wooden handle, and remove every trace before the tool touches dough again.
Ketchup appears in many brass-cleaning guides because tomato acidity can loosen tarnish. It is not the best first choice for a pasta tool. It is sticky, scented, and harder to remove from small edges or wheel joints. Lemon, baking soda, and a soft cloth are cleaner choices for kitchen use.
A practical care routine after making pasta
A good routine is short. After cutting ravioli, tagliatelle edges, or decorative pasta shapes, let any dough crumbs dry for a few minutes if they are soft. Then brush them away. Wipe the brass with a barely damp cloth, dry it, and check the wheel or stamp edge before putting it away.
If you made filled pasta, pay attention to areas where filling may have touched the tool. Cheese, meat, herbs, or egg-based fillings should not remain in small corners. Clean those spots with mild soap on a cloth, then wipe again with clean water on another cloth.
For weekly or occasional shine, use lemon and baking soda on the brass. For deeper tarnish, use vinegar paste with care. For the wood, stay simple: wipe, dry, and avoid soaking. Natural wood does not need the same treatment as metal.
The best sign of a well-kept pasta tool is not mirror shine. It is a clean edge, a dry handle, and a wheel or stamp that moves through pasta dough with control. That is the care standard that matters in a real kitchen.
Key takeaways to remember
Clean brass gently, dry it fully, and keep acidic mixtures away from natural wood. A handmade pasta cutter or ravioli stamp is a working tool, not a decorative brass object, so the cleaning method should respect both the metal and the handle.
Use soap and a soft cloth after normal pasta work. Use lemon and baking soda only when tarnish needs attention. Use vinegar paste only for darker tarnish and only on brass. Avoid dishwashers, soaking, steel wool, and heavy polish unless the product is clearly appropriate and can be removed completely.
If you choose a LaGondola cutter or stamp, care is part of the same gesture as making pasta: clean pressure, steady movement, and tools that are ready for the next sheet of dough.
FAQ about how to clean brass
Can I clean brass with lemon and baking soda?
Yes. Lemon and baking soda work well for light tarnish on brass, especially when used as a soft paste. Apply it only to the brass, rub gently with a cloth, then remove the paste with a damp cloth and dry the tool fully. On a pasta cutter or ravioli stamp with a wooden handle, avoid spreading the paste near the wood or leaving it on the metal for a long time.
Can vinegar damage brass?
Vinegar can darken or mark brass if it is left on too long or used too strongly. For a handmade pasta tool, use vinegar only as part of a paste for heavier tarnish, keep it on the brass only, and remove it carefully. Never soak a brass and wood tool in vinegar. Short contact, gentle wiping, and complete drying are safer than long soaking.
Should brass pasta tools go in the dishwasher?
No. A brass and natural wood pasta tool should not go in the dishwasher. Dishwasher heat, moisture, and detergent can be too aggressive for the wooden handle and unnecessary for the brass. Clean the tool by hand with a soft cloth, mild soap when needed, and careful drying. This keeps the handle comfortable and the cutting or stamping edge ready for use.
How often should I polish brass pasta tools?
Polish only when the brass is visibly tarnished or dull enough to bother you. After normal use, brushing away flour and wiping the tool dry is usually enough. A light patina does not prevent a pasta cutter or ravioli stamp from working well. Frequent hard polishing can be more damaging than helpful, especially if it involves abrasive pads or strong products.